使用 Hugo 建立自己的 Blog
1. 序
我想要拥有一个属于自己的 Blog,这件事情可以追溯到刚开始接触编程的时候,已经 6 年多了吧。
但是由于各种原因,总是一直搁置这件事情。
从一开始的年少轻狂,妄想自己做一个 Blog 系统;到为了满足我挑剔的眼光,寻找自己各种花里胡哨的 Blog 网站;再到兴致勃勃开通公众号,幻想自己能大展拳脚…..
直到现在,我的 Blog 依然没有建立,但我想改变下这种现状。
我现在想要的,不一定是一个 Blog,只是想有个地方能记录我的一些文字,不再苛求各种各样的花里胡哨的功能,能把 markdown 文件原样显示在网页上就好,能在网络上公开就行。
使用 markdown,是因为它足够简单,跟纯文本文件一样随时随地都能写,又能用简单的符号来排版内容,不需要想 html 一样为了排版需要加上与内容无关的标签和样式。
需要能在网络上公开,不仅能满足自己的虚荣心;还能有助于提高自己的内容质量,毕竟没人愿意在自己的衣服上随手涂鸦。
因此,我这次打算用 hugo、github 来建立自己的 blog。
2. hugo 安装和创建网站
2.1 hugo 安装
如果是 MacOS 系统:
brew install hugo
如果是 Windows 系统:
# 使用 Chocolatey
choco install hugo-extended

# 使用 Scoop
scoop install hugo-extended

# 使用 Winget
winget install Hugo.Hugo.Extended
Windows 虽然提供了 3 种安装方法,但是每一种都需要先安装对应的软件。
安装好 Hugo 之后,可以使用 hugo version 来确认是否成功,如下图:

2.2 使用 hugo 创建网站
使用终端工具输入下面的命令:
# 创建一个新项目,命名为 blog
hugo new site blog
# 进入该目录
cd blog
# 使用 git 初始化仓库,为之后使用 github 做准备
git init
# 下载子模块仓库,作为 hugo 的主题
git submodule add https://github.com/nanxiaobei/hugo-paper themes/paper
# 修改 hugo.toml 配置文件,设置主题为 paper
echo "theme = 'paper'" >> hugo.toml
# 启动服务,然后访问控制台输出的地址
hugo server

如图所示,在浏览器中访问 http://localhost:1313/ 即可出现我们创建好的 hugo 网站。
但是仅仅这样是没有任何内容的,我们继续给网站添加内容:
# 在 content 目录下添加 posts/myf-first-post.md 文件,默认的文件里面会有 title、date、draft 等属性,重点是 draft 表示草稿,如果使用 hugo server 启动时不添加 -D 参数的话不会显示带有草稿属性的内容
hugo new posts/my-first-post.md

# 如果需要看到草稿的内容,试试下面的命令(二选一)
hugo server --buildDrafts
hugo server -D
最后,还需要修改 hugo.toml 配置文件,完善一些基本信息:
# 网站的 baseURL
baseURL = 'http://example.org/'
languageCode = 'en-us'
# 网站的标题
title = 'My New Hugo Site'
# 使用的主题
theme = 'paper'

# 相关主题的配置 paper params
[params]
  # color style
  color = 'linen'                           # linen, wheat, gray, light

  # header social icons
  # twitter = 'YOUR_TWITTER_ID'               # twitter.com/YOUR_TWITTER_ID
  # instagram = 'YOUR_INSTAGRAM_ID'           # instagram.com/YOUR_INSTAGRAM_ID
  # linkedin = 'YOUR_LINKEDIN_ID'             # linkedin.com/in/YOUR_LINKEDIN_ID
  # mastodon = 'YOUR_MASTODON_LINK'           # e.g. 'https://mastodon.instance/@xxx'
  github = 'github.com/Idiot-Alex'                 # github.com/YOUR_GITHUB_ID
  rss = true                                # show rss icon

  # home page profile
  avatar = 'https://avatars.githubusercontent.com/u/16541166?v=4'                 # gravatar email or image url
  name = 'Hotstrip'
  bio = '现技术人,终身学习者。会点儿 Java、Vue、Python,喜欢 Go'
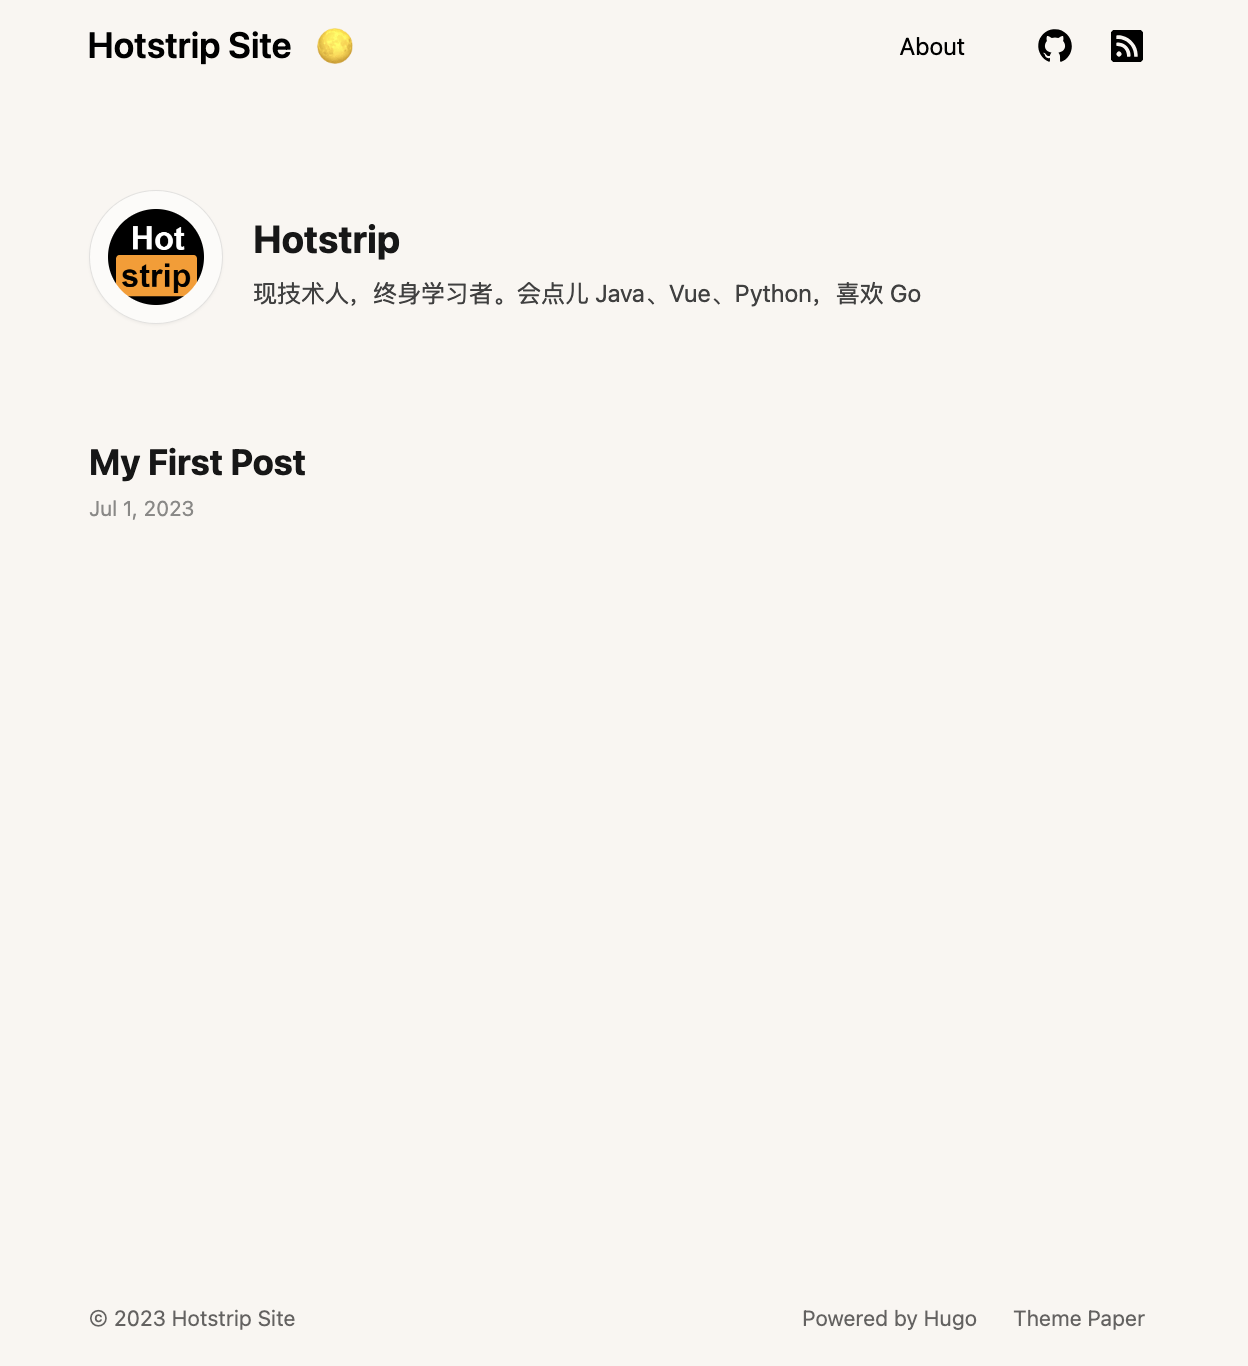
最后我们就得到了这样的网站:
3. 白嫖 github pages 服务
上面的步骤,完成了使用 hugo 搭建自己的 blog 网站,下一步就是把网站发布到网络上去了,这里就使用 github。
首先在 github 上注册一个账号,新建一个跟自己 ID 相同的仓库(比如我的 ID 是 idiot-alex,仓库名称就是 idiot-alex.github.io),方便使用 github 的 pages 服务。
把本地的代码推送到 github,然后在项目根目录创建 .github/workflows/hugo.yaml,内容如下:
# Sample workflow for building and deploying a Hugo site to GitHub Pages
name: Deploy Hugo site to Pages

on:
  # Runs on pushes targeting the default branch
  push:
    branches:
      - main
  schedule:
    # Runs everyday at 8:00 AM
    - cron: "0 8 * * *"

jobs:
  build-and-deploy:
    runs-on: ubuntu-latest
    steps:
      - uses: actions/checkout@v3
        with:
          submodules: true  # Fetch Hugo themes (true OR recursive)
          fetch-depth: 0    # Fetch all history for .GitInfo and .Lastmod

      - name: Setup Hugo
        uses: peaceiris/actions-hugo@v2
        with:
          hugo-version: 'latest'
          extended: true

      - name: Build Hugo
        run: hugo --gc --minify  --cleanDestinationDir -b "https://idiot-alex.github.io/" -e "production"

      - name: Deploy
        uses: peaceiris/actions-gh-pages@v3
        with:
          github_token: ${{ secrets.WORKFLOW_TOKEN }}
          publish_dir: ./public
          commit_message: ${{ github.event.head_commit.message }}
把上面网址换成你自己的,然后需要配置一个 github_token:
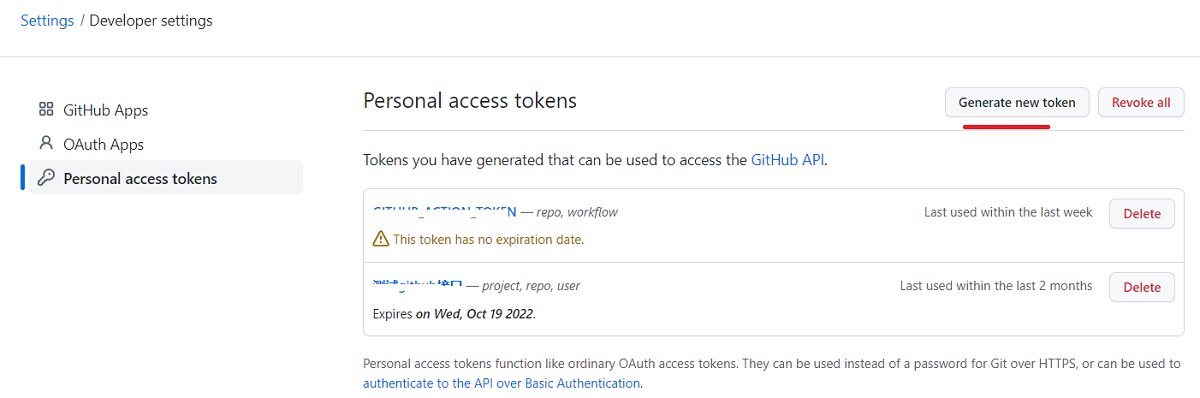
- 在个人GitHub页面,依次点击 Settings->Developer settings->Personal access tokens 进入如下页面:
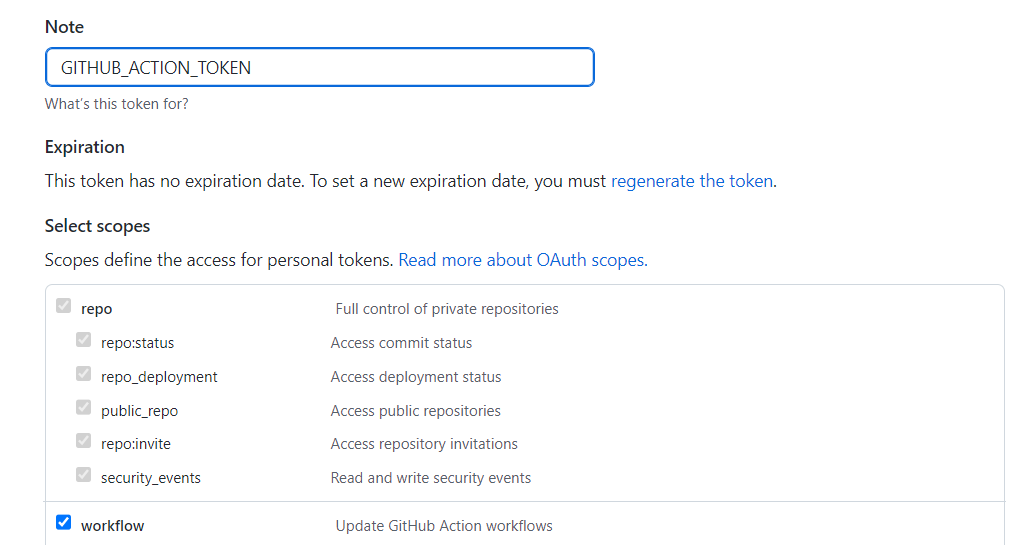
- 点击 Generate new token 出现如下界面,在Note中输入名称,在 Select scopes 选择 workflow
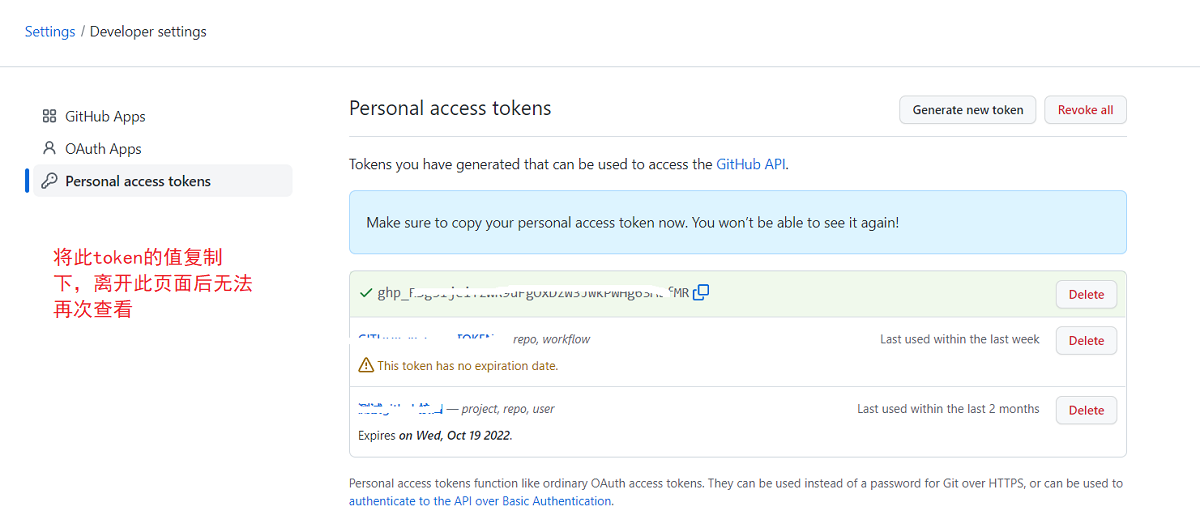
- 将生成的 token 复制出来为后续创建 secret 做准备,注意必须及时复制,一旦离开此页面后续就无法查看其值,只能重新创建新 token:
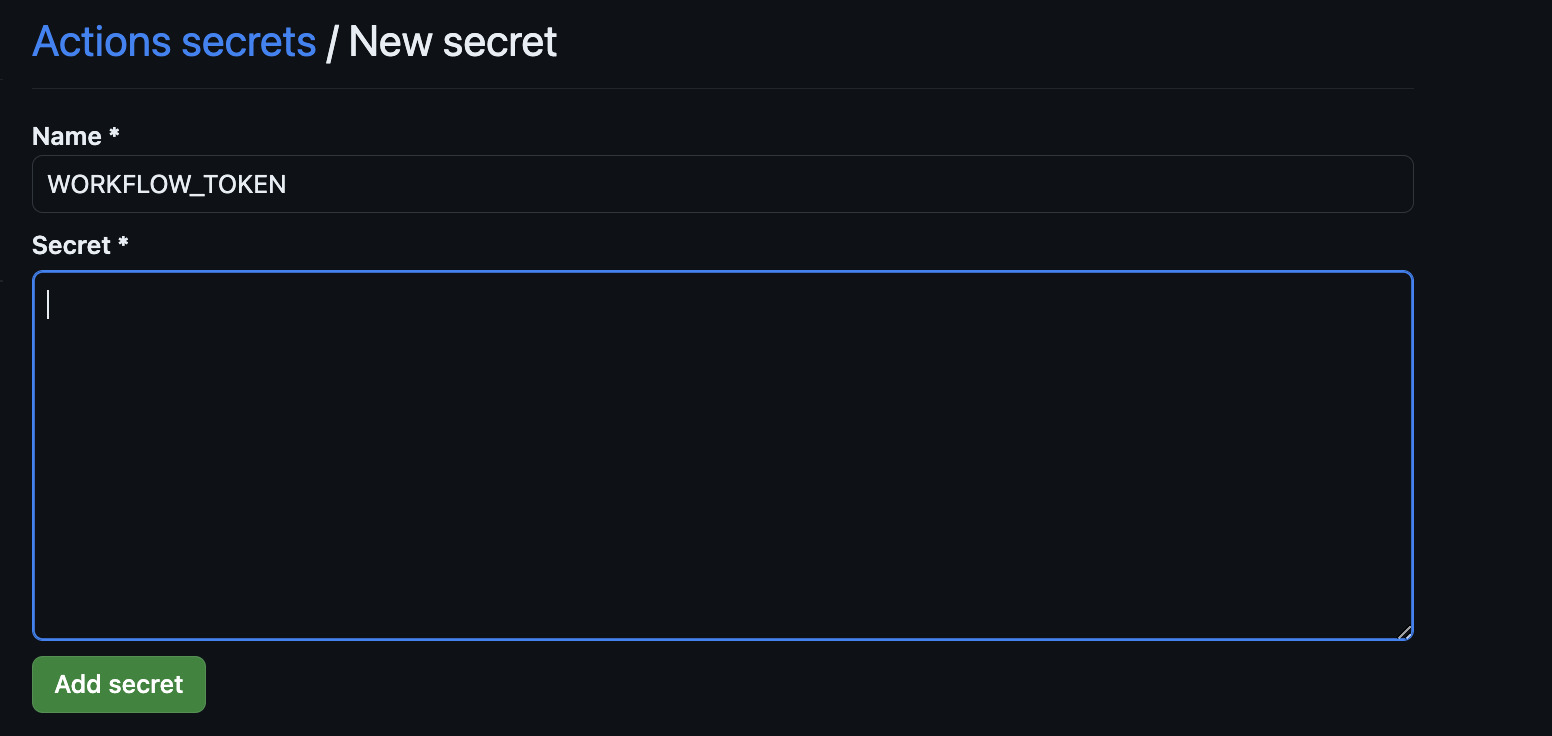
- 进入对应的 GitHub 项目下,依次点击 Settings->Secrets->Actions 进入添加 Action secrets 的界面,点击 New repository secret 按钮

- 将第 3 步生成的 token 粘贴到新的 secret 输入框中,注意 name 需要跟上面 hugo.yaml 文件中的值保持一致(yaml 文件为 secrets.WORKFLOW_TOKEN,对应的name 为 WORKFLOW_TOKEN)
然后,对该仓库的每次推送,github 都会自动执行对应的部署操作,每次的结果都会放到 gp-pages 分支。我们只需要把 gp-pages 通过 pages 服务发布出去就行了。
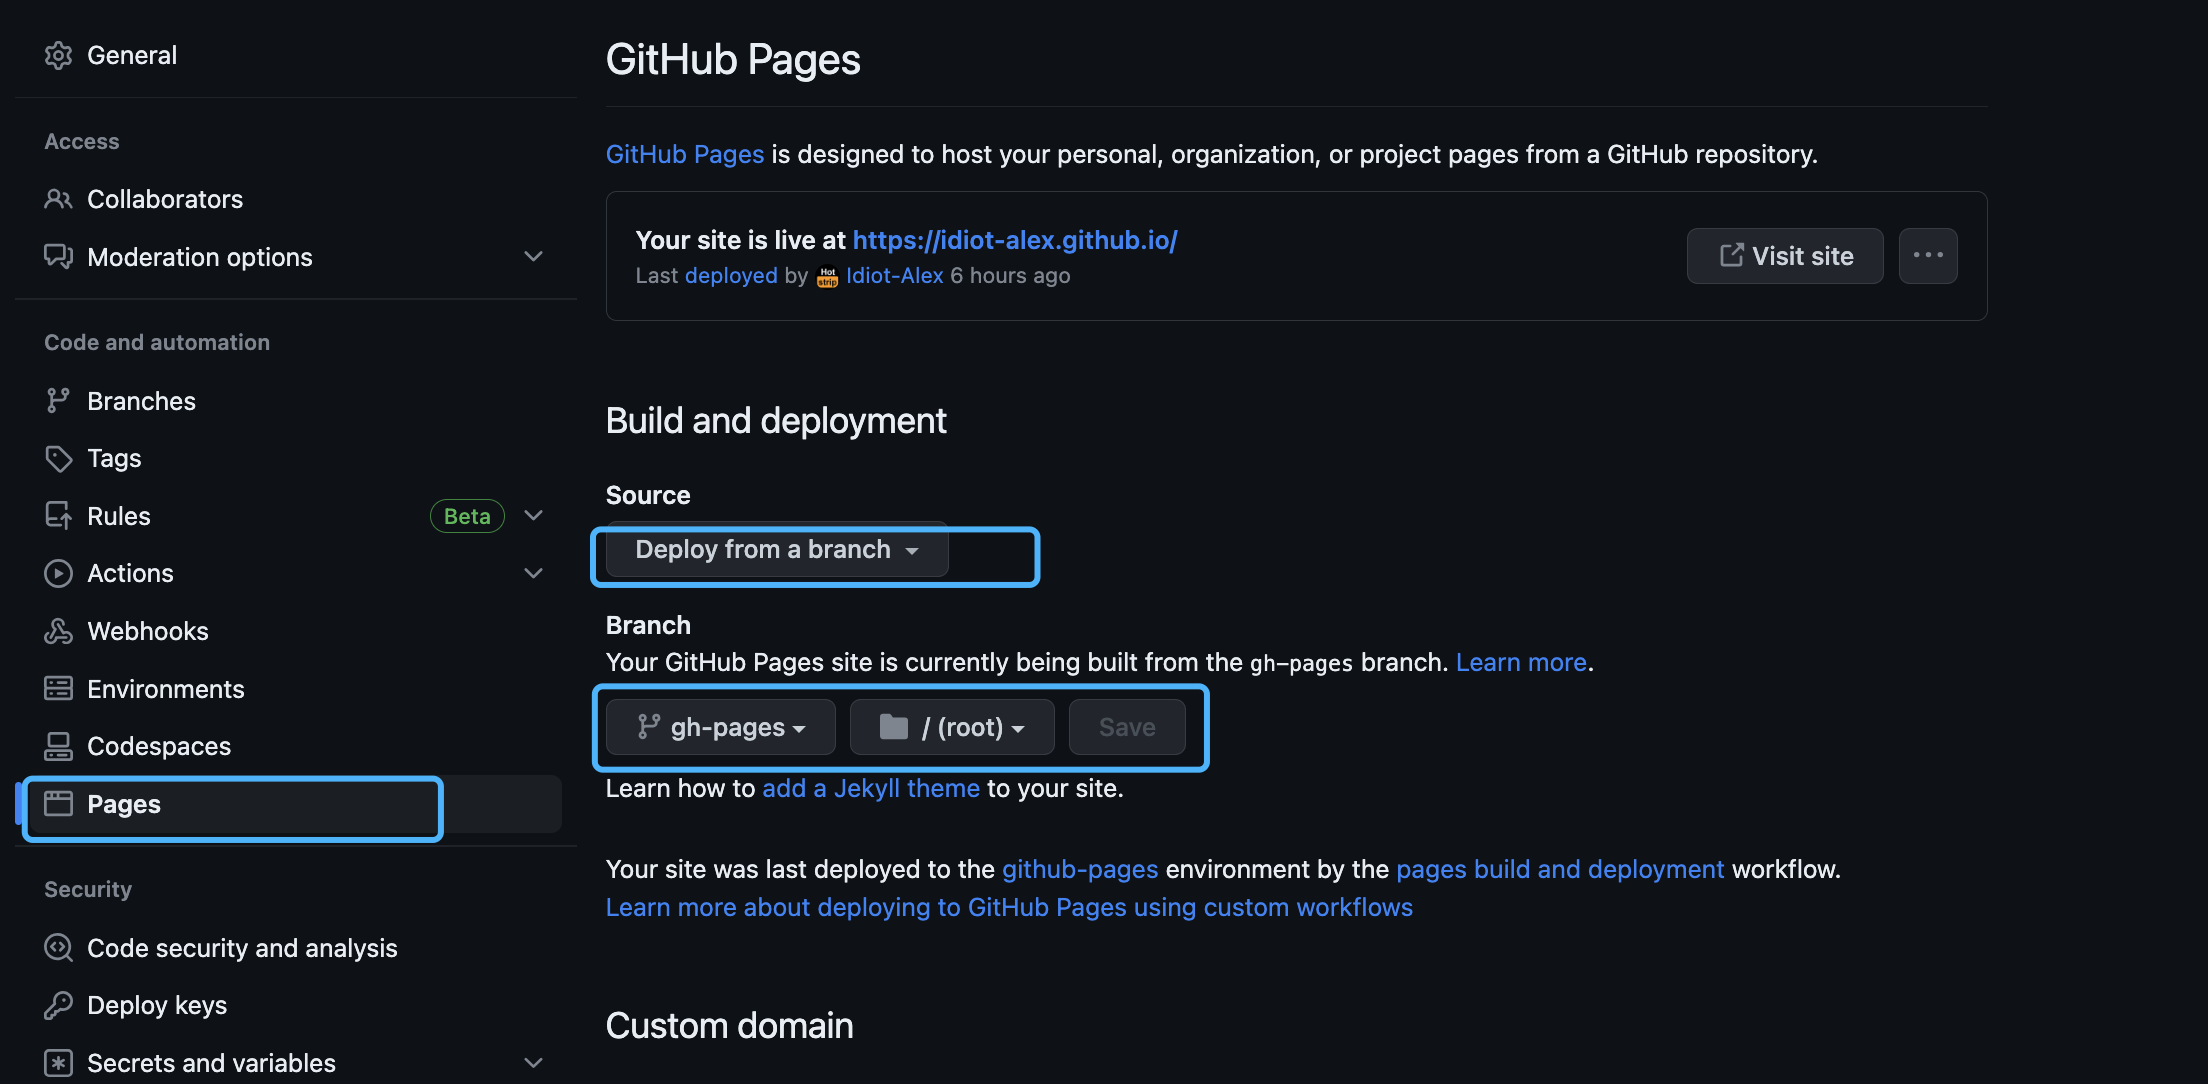
进入对应的 GitHub 项目下,依次点击 Settings->Secrets->Pages 进入类似下面的页面,选择分支保存就行。
完成之后,我们就拥有了一个可以公网访问的 blog 网站了,就是 https://idiot-alex.github.io